Getting started
Create an event
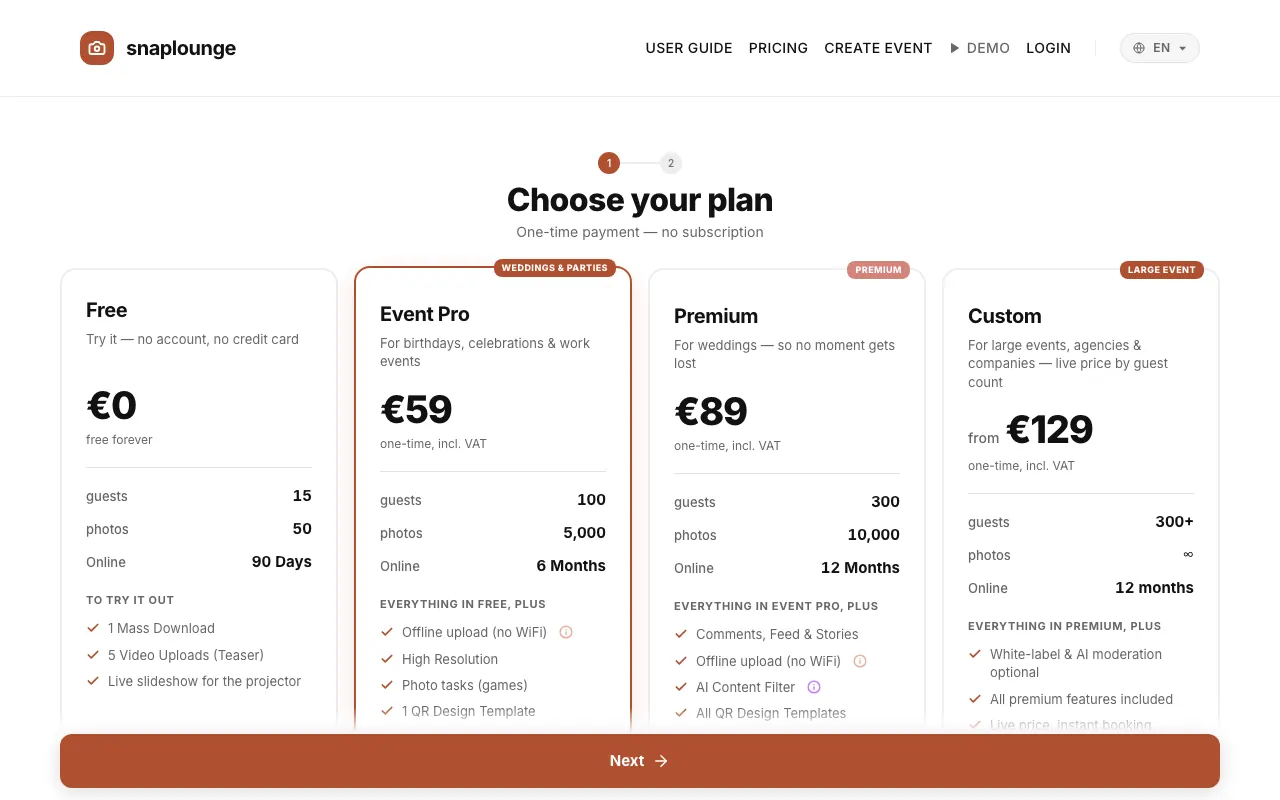
Choose a plan, enter the name and date, done – try it for free or book a plan right away.
How it works
Open Create Event. Under “Choose your plan,” tap Select on the plan you want, then tap Next.
Enter Event Name and Event Date. Under “What kind of event is it?” pick the occasion – the suggestions for header images, photo tasks, and QR designs follow from it.
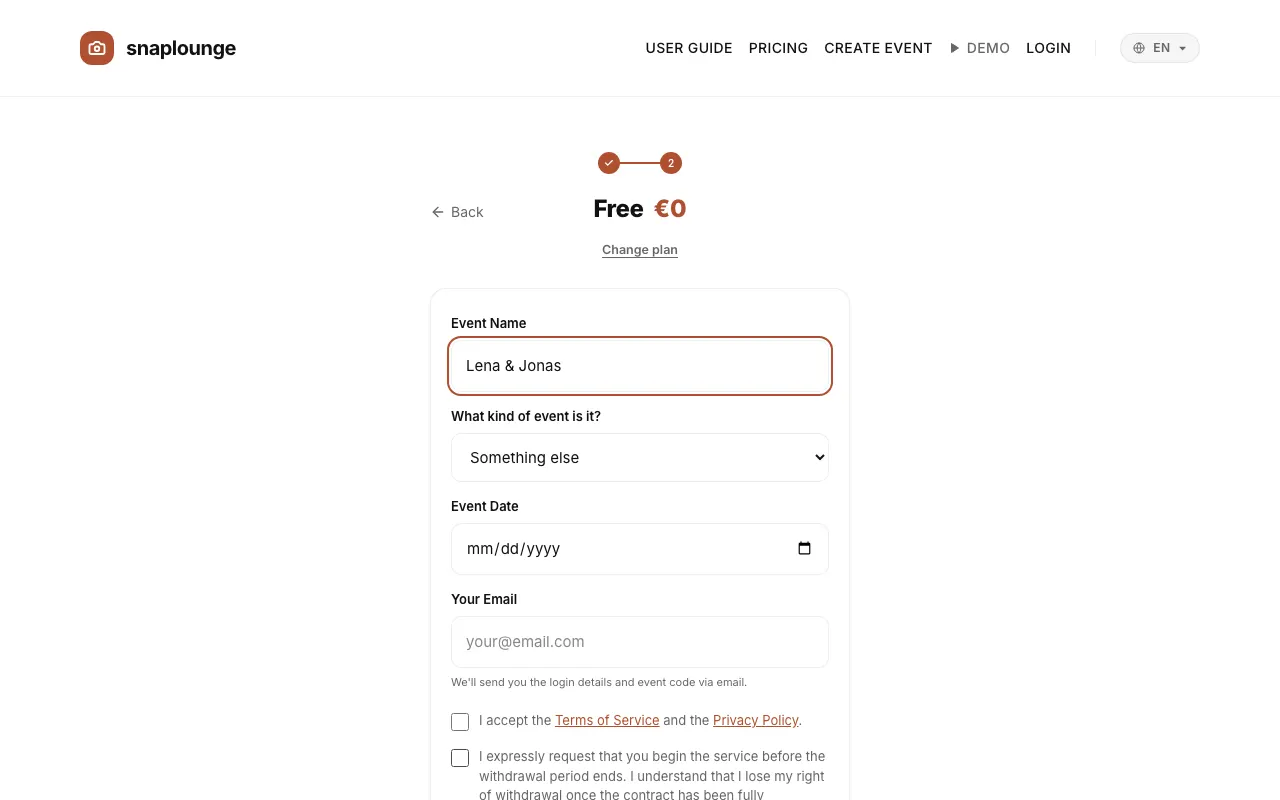
Confirm the terms, the privacy policy, and the immediate start of your event.
Free: enter your email address and tap Start for free. You receive a 6-digit code by email – enter the code or tap the link in the email, and your event is ready.
With a plan: tap Book with obligation to pay and pay securely via Stripe. You then go straight to your event; your access arrives by email at the address from the payment.
Questions about this
Which plan fits me?
It depends mostly on the number of guests. You can find an overview under Plans compared.
How often do I pay?
You pay once per event – that is all.
Did this help you?
Goes well with
- Plans comparedFree to try out, Pro and Premium for most parties, Custom for large events – you pay once per event.
- Sign inYou sign in with Google or with a code by email – quick and easy.
- Change name, date, and occasionYou find all basic settings of your event on the event management page under “General Settings.”