snaplounge User Guide: Step by Step from QR Code to Photo Download
This guide walks you through everything you can do with snaplounge — from creating your event and putting the QR code on the tables to downloading all photos after the celebration. Every step uses the labels exactly as they appear in the app. If you first want a quick overview of what snaplounge is: [What is snaplounge?](/en/blog/what-is-snaplounge)
1. Create your event
You create an event under Create New Event. It takes about two minutes.
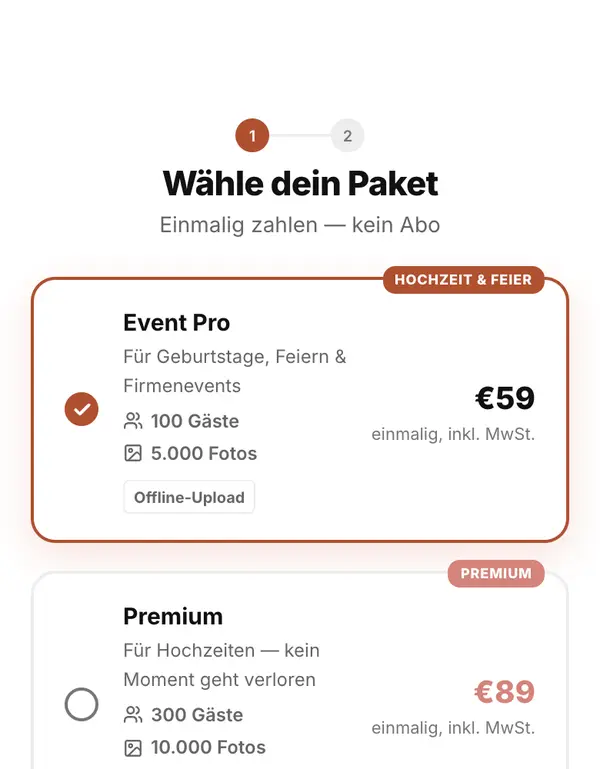
- “Choose your plan” — Free to try things out, Pro or Premium for most celebrations, Custom for large events. You pay once per event. Then click “Next”.
- Enter “Event Name” and “Event Date” (both are required, and the date can be today or any day in the future). Optionally pick the occasion under “What kind of event is it?” — it shapes the suggestions for photo tasks and QR designs.
- Confirm the terms and the privacy policy and agree that your event starts right away (this is what lets your gallery open immediately instead of after the withdrawal period).
- Free plan: “Start for free” — you receive a 6-digit code by email (valid for 10 minutes) or simply click the link in the same email. Paid plans: “Book now” takes you straight to secure payment via Stripe, no prior sign-in needed. Your access arrives by email at the address you enter at checkout.
You can create the free plan once every 30 days. How many guests and photos each plan covers is listed on the pricing page.
2. Your dashboard
Under “Your Events” you see all your events with date, plan, number of photos and guests. Each event has “Open gallery”, the QR icon and, in the “More actions” menu, the options to share the link, “Invite by email”, “Settings” and “Delete event”. On your first event, the “Set up your gallery” assistant guides you through the most important settings.
Heads-up: “Delete event” permanently removes the event with all its photos, including from storage. Download your photos first.
3. Download and print your QR code
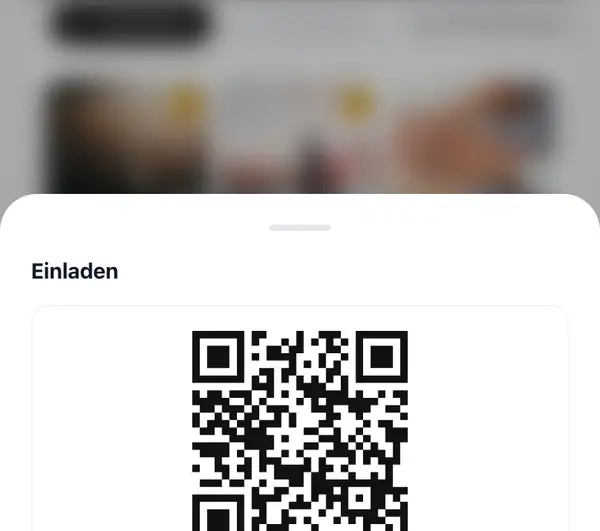
- Tap the QR icon in the dashboard. Under “Choose design”, pick a motif that suits the occasion (for example classic, floral or gold) and save it in high resolution with “Download as image” — perfect for printing.
- In event management you also find “Print as table card”: a ready-made print view with the QR code and the direct link.
- QR designs come with Pro (one template per occasion) and Premium (all templates). The Free plan gives you a clean QR code with the join code.
Design ideas and ready-made templates: table card template with QR code and QR code at your wedding.
4. Invite your guests
Besides the QR code, you can invite guests directly:
- Share the link: in the gallery, go to “Manage” → “Invite” and choose “Copy link”, “WhatsApp” or “By email”. The link looks like snaplounge.app/en/join/YOUR-CODE.
- By email: “Invite by email” opens a form where you can enter several addresses, separated by commas, and send the invitations.
- You also find the join code in event management — guests can type it in as an alternative to scanning the QR code.
5. Set up your event: the key settings
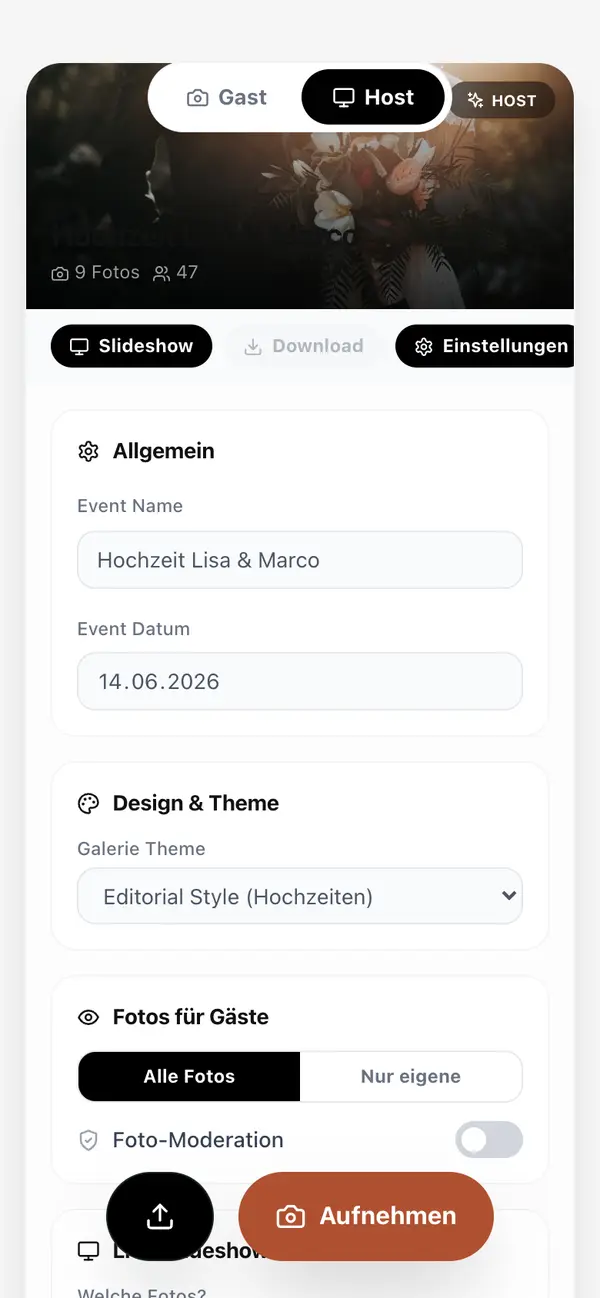
- “Event Name” and “Event Date” — the date is fixed from the day of the event.
- “Gallery Theme” — the look of your gallery (from Pro).
- “Default view” — “Mosaic gallery” or “Feed (like social media)”.
- “Photos for Guests” — “All Photos” (everyone sees everything) or “Own only” (each guest sees just their own photos; this is preset for company events).
- “Photo Moderation” — new photos appear once you approve them.
- Finish with “Save” — this also saves the slideshow settings.
6. How your guests join in
Guests join in seconds, straight from their phone camera and browser — there is nothing to install, no account and no password:
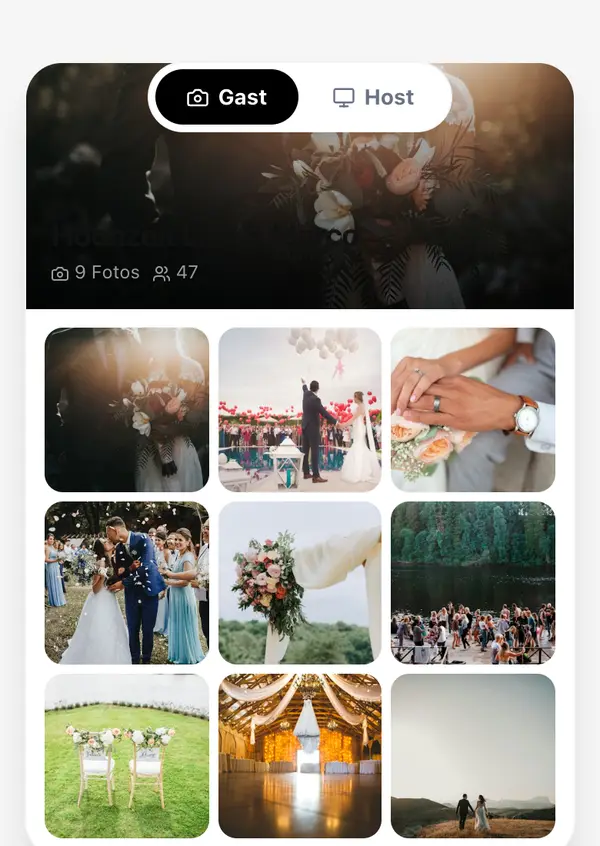
- Scan the QR code with the phone camera (or open the link).
- Under “What's your name?” enter a first name and tap “Take & view photos”.
- In the gallery, tap “Take photo” to shoot, record a video (up to 20 seconds), or use “Choose from gallery” to upload several existing photos at once.
- Done — the photo appears in the shared gallery right away.
When can guests upload?
The camera unlocks at midnight on the day of the event and stays open for 48 hours afterwards, so guests can still add photos the next day. Before that they see “The camera will unlock automatically when the event starts.”, afterwards “The event has ended. Uploads are no longer possible.”
What happens on a weak connection?
The photo is saved on the phone (“Saved — uploading in the background.”) and uploads automatically as soon as the signal is back. Guests do not have to do anything.
7. Set photo tasks
Photo tasks give your guests small missions such as “The funniest dance” or “A selfie with the happy couple”. In event management, under “Photo Tasks (Gamification)”, add your own with “Add task” or take over “Ideas for your event” with one click. Guests see the tasks in the gallery, tap one — and the camera opens ready for it. Photo tasks come with Pro and Premium.
Plenty of ideas to copy and print are waiting in the free photo challenge generator.
8. Live slideshow on a projector or TV
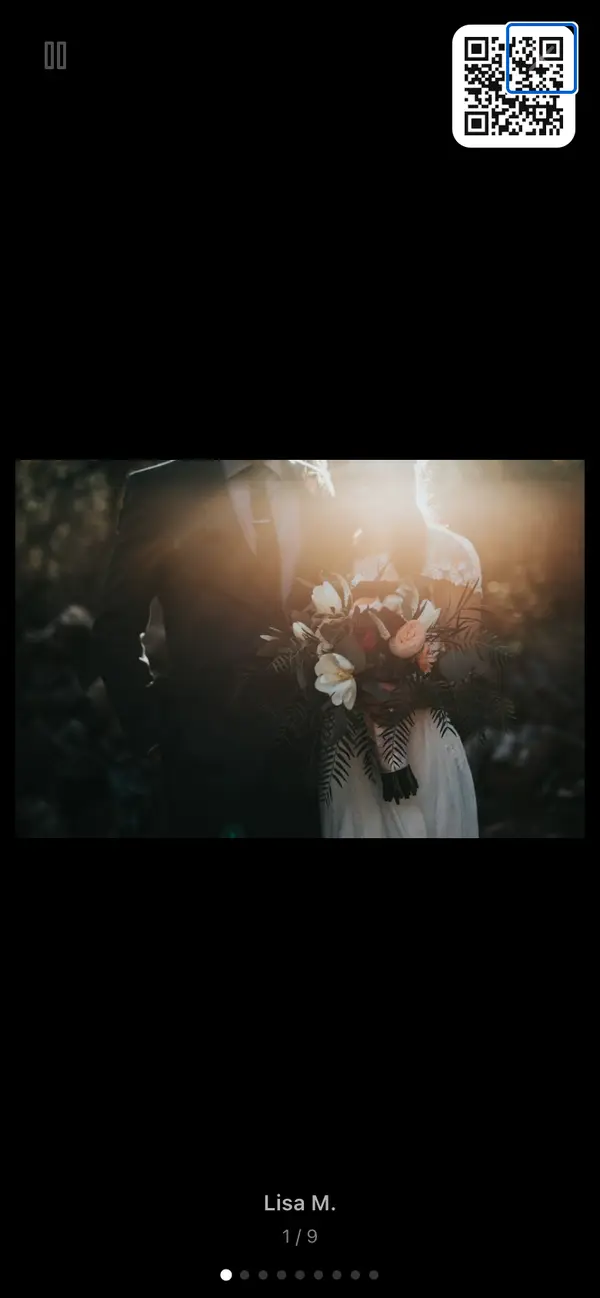
- Open “Live Slideshow Settings” in event management.
- “Which photos to show?” — “All Photos” or “Selected only”.
- Choose “Speed” (3–20 seconds, default 8) and “Transition Effect” (Fade, Slide, Zoom), and switch “Show Photographer Name” and “Show QR Code” on as you like.
- Copy the “Slideshow Link”, open it on a laptop or smart TV and press F for fullscreen.
The live slideshow is included in every plan, the free one too. Everything about projectors, connections and equipment: live slideshow at your wedding.
9. Manage your gallery: approve, delete, header image
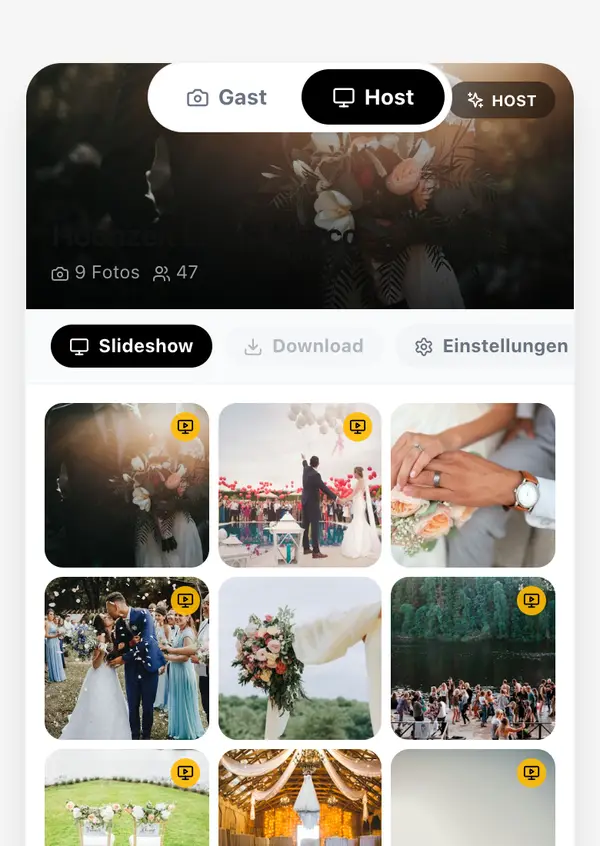
- Switch the view between “Gallery” and “Feed”, and filter by “All Photos” or “My Photos”.
- With moderation on: “Approve all”, or approve single photos in the full-size view with “Approve” (and “Revoke approval” if you change your mind).
- “Delete photo”: you can delete any photo, guests can delete their own.
- “Add to slideshow”: picks photos for the slideshow when it is set to “Selected only”.
- Under “Manage” you also find “Change header image” and “Settings” with the switch for likes and comments.
From Premium, “Settings” also include an AI Content Filter that automatically holds back explicit, revealing or violent content.
10. Invite more admins (co-host)
From Premium, you can enter the email address of another person under “Invite More Admins” in event management — a bridesmaid or a colleague, for example. They can approve photos and manage the gallery. Admins are added or removed by the person who created the event.
11. For company events: privacy and DPA
For company events “Own only” is already preset: everyone sees their own photos, the company sees all of them. From Pro, you can generate a data processing agreement (DPA) as a PDF and print it under “Compliance & DPA” in event management. More on this: company party photos and GDPR.
12. Download all photos
- In the gallery, tap “Download all”, then “Download all as ZIP”.
- Very large galleries are split into parts automatically (“Part 1”, “Part 2” …) — just download them one after another.
- Single photos and videos can be saved from the full-size view.
Tip: download your photos right after the celebration and keep a second copy on a hard drive or in your cloud.
13. How long are your photos stored?
| Plan | Storage from event date | Extend |
|---|---|---|
| Free | 90 days | — |
| Pro | 6 months | +3 months for €11.99 |
| Premium | 12 months | +6 months for €17.99 |
| Custom | 12 months | +12 months for €49.99 |
About seven days before expiry you get a reminder by email, and “Extend storage” appears in your gallery. After expiry your photos stay available for another 30 days, then they are permanently deleted.
14. Upgrade your plan later
Expecting more guests than planned? With the upgrade you move to Pro or Premium — what you have already paid is credited. Extras are available too: 12 more months of download time and 200 more guests & storage. After “Order with obligation to pay” the upgrade is active immediately.
15. Your account
Under “Profile settings” you change your “Display name” and “Email address”. A new address takes effect as soon as you click the confirmation link in the email. Delete individual events in the dashboard; to have your whole account deleted, use “Request deletion by email” in the profile settings or write to [email protected].
16. Common problems
| Problem | Solution |
|---|---|
| Guests cannot take photos | The camera opens at the start of the event day and stays open for 48 hours afterwards. Check the date in the settings. |
| “This event has reached its guest limit.” | As many guests as your plan covers are already sharing photos. A guest counts from their first shared photo. Duplicate entries can be removed under “Guests” in event management. To add room, upgrade or book the “+200 guests” extra. |
| New photos do not appear | With Photo Moderation on, photos wait for your approval (“n photo(s) awaiting approval”). |
| A video was shortened | Videos are limited to 20 seconds; longer ones are trimmed automatically. |
| Upload is slow on a weak connection | Nothing to do: the photo is saved and uploads automatically as soon as the signal is back. |
| The QR code does not scan | Print it larger and with strong contrast. Alternatively, hand out the join code or the link directly. |